 DE
DE EN
EN FR
FR
Brake line configurator · Stahlflex
Your brake line. Your setup.
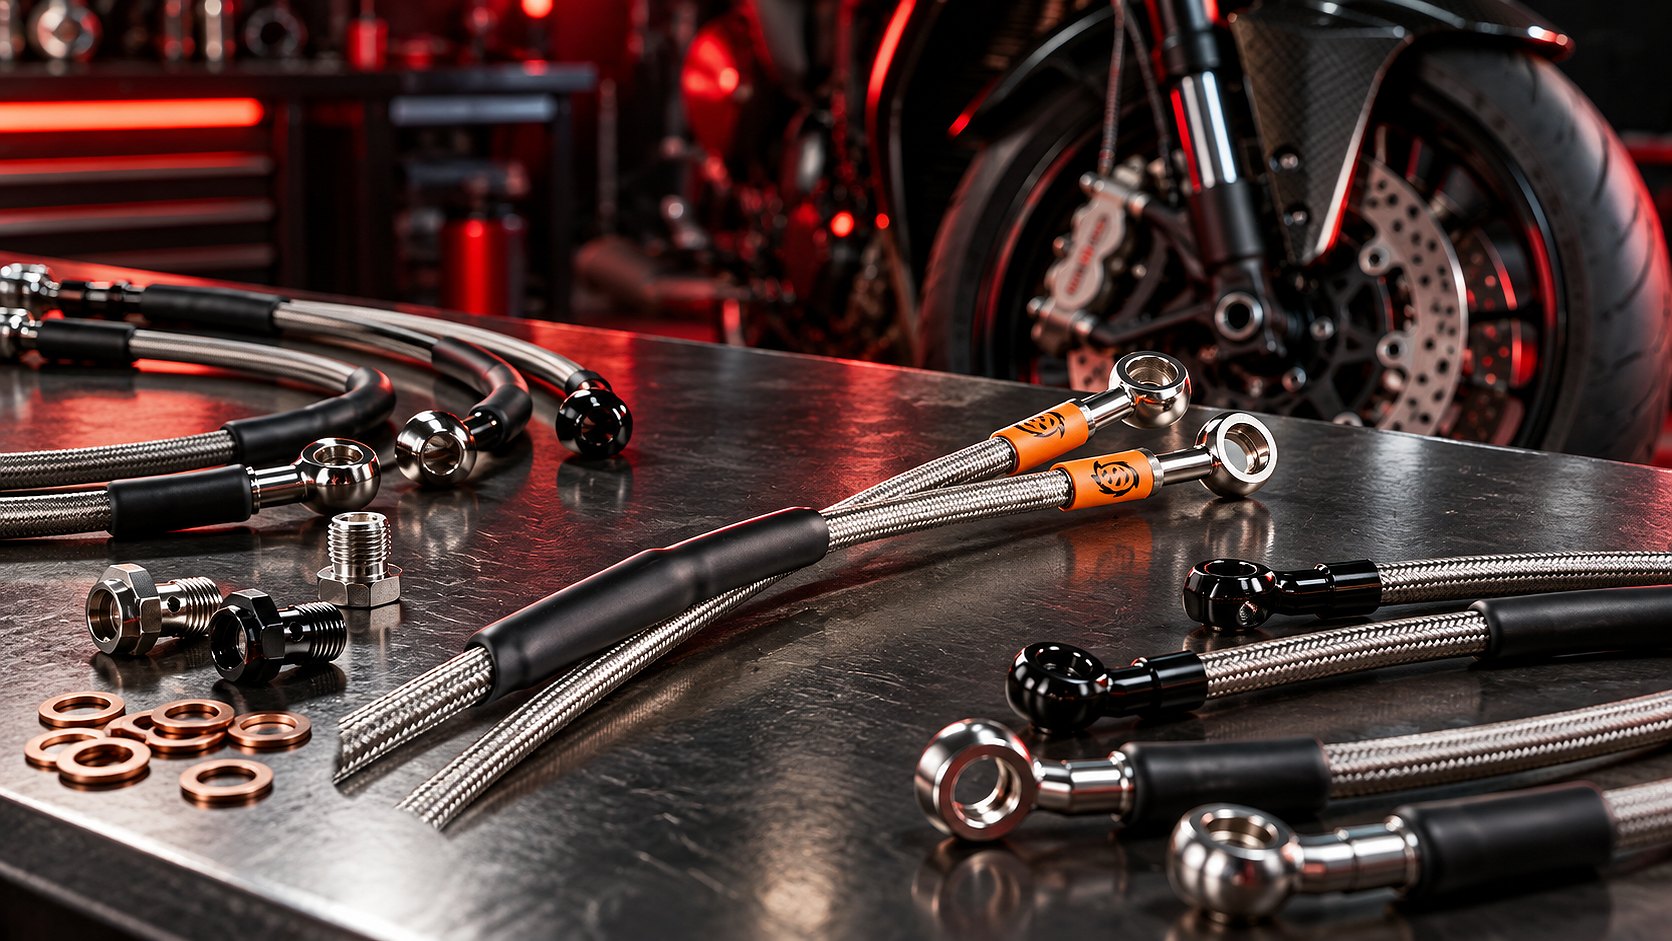
Custom Stahlflex brake line for your motorcycle – length, connections and colors exactly according to your setup.
- Ready to install incl. technical report
- Noticeably better brake feel & shorter braking distance
- Individually configurable (length, angle, colors) – including TÜV certificate
Custom Length
Freely selectable colors
For conversions & custom solutions
Order directly online
Inspection before production possible
Configurator
Build your line.
Six specifications – on the right you'll see live what's being created. Unsure? Upload a photo and enable inspection before manufacturing.
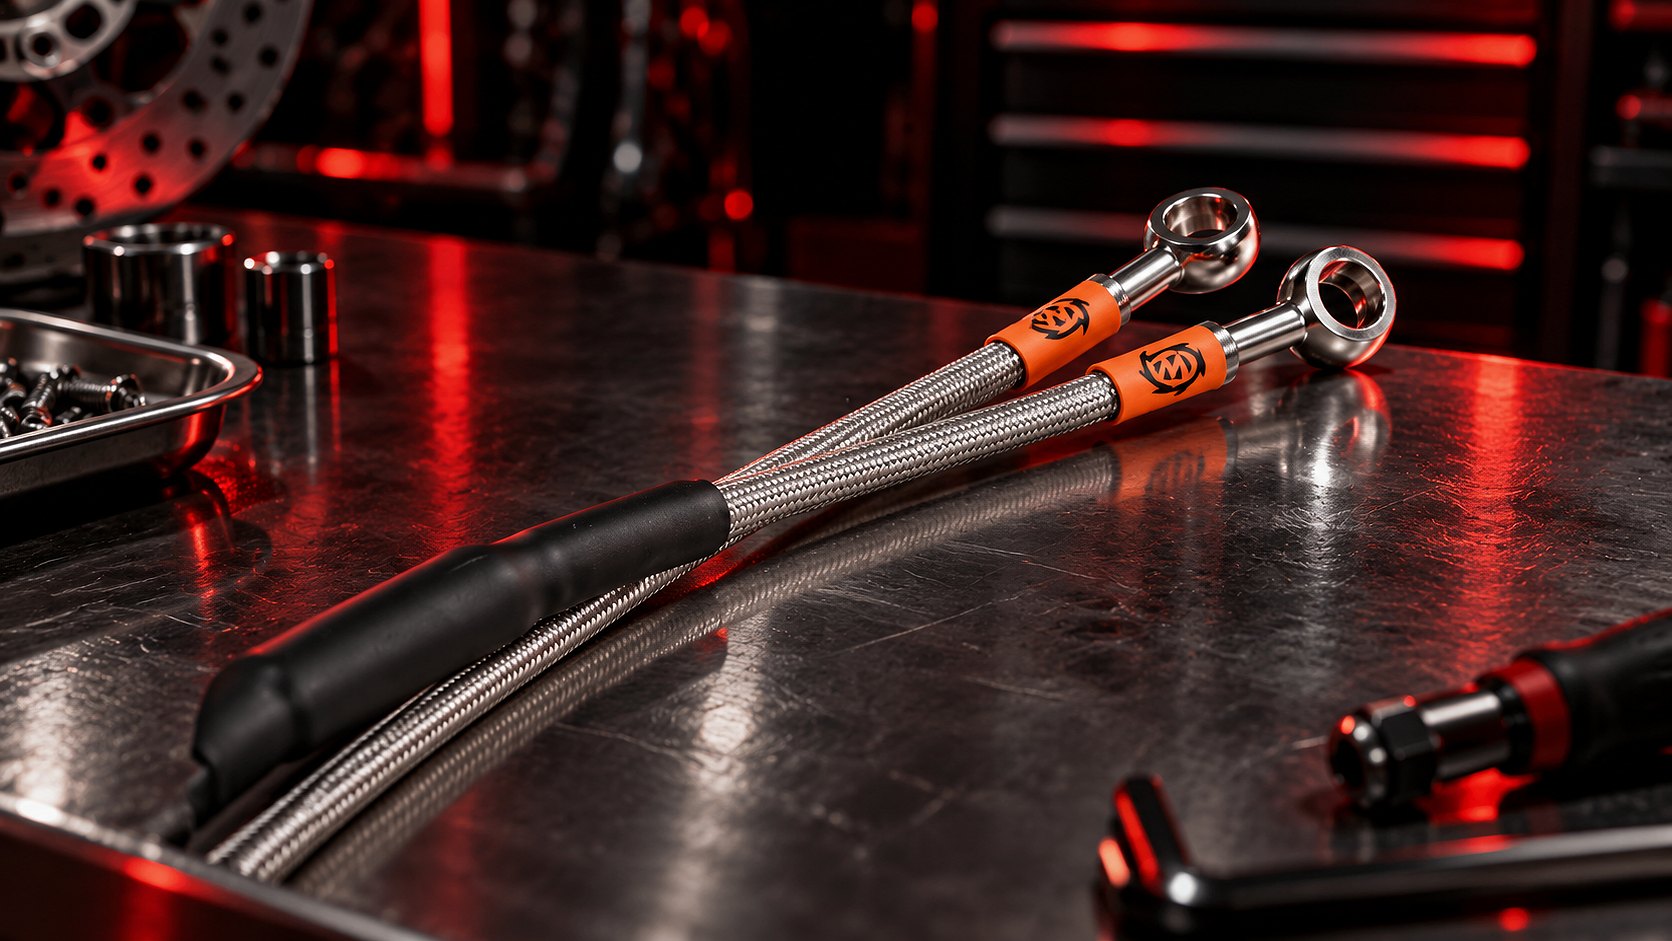
Why Stahlflex?
More feedback. More control.
- Defined pressure point
- Lower cable expansion
- Precise dosing capability
- Premium Look
- Individually configured
Made for conversions
Your setup isn't stock? Perfect.
That's exactly what the configurator is for: length and angle tailored to your rebuild.
Supermoto conversion
Different Brake Pump
Different brake caliper
Oversize Brake
Handlebar conversion
Custom wiring routing
How it works
Get the right hose in four steps.
Measure
Length from hole center to hole center, angle at both ends.
Configure
Choose length, connections, colors and hollow screw.
Check
Optionally upload photo – we check before production.
Order
Straight to the cart, each line as its own item.
Measuring Aid
How to measure correctly.
Two values decide: the length and the angle at both ends.
01 · Length
- Remove the old hose and lay it straight.
- Measure from center of ring eye to center of ring eye – not the outer edge.
- New line routing? Measure along the route with a string, turn the handlebars all the way and compress the fork.
02 · Angle
0°
20°
45°
70°
90°
- Lay the line flat, view the ring eye from above.
- 0° = straight, 90° = right-angled bend.
- Not sure? Upload a photo and enable inspection before manufacturing.
Not sure?
Not sure which connection fits?
No problem. Upload a photo of your current connections in the configurator and enable inspection before manufacturing.
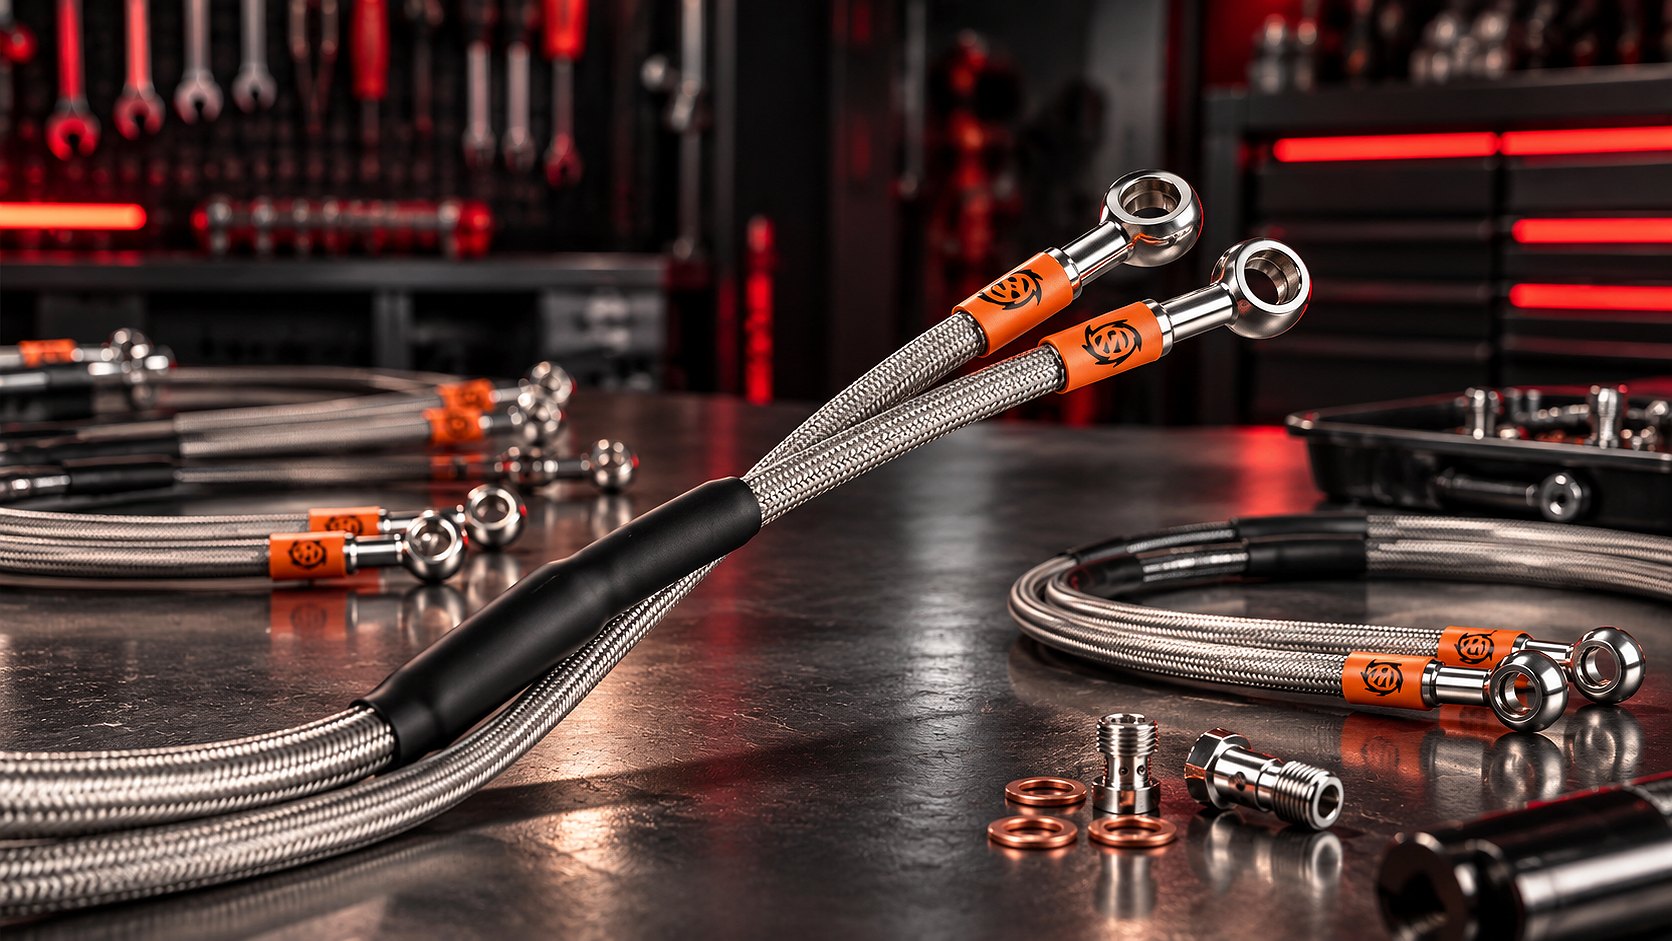
FAQ
Frequentlyasked questions.
How do I measure the correct length?
From connection center to connection center – that is, from the center of one ring eye to the center of the other. The measurement graphic shows you exactly where.
What do I do if I don't know the connection angle?
Compare your line with the angle graphic or upload a reference photo in the configurator and enable inspection before manufacturing.
Can I order a custom length?
Yes – any length from 300 to 2,500 mm in 10 mm increments.
Can I have my configuration checked before production?
Ja. Aktiviere in Schritt 08 die Option „Bitte meine Konfiguration vor Fertigung prüfen".
Can I order multiple different lines?
Yes. Each configuration is saved as its own position in the shopping cart – simply configure the next line after adding it.
Was bedeutet die Verdrehung der Anschlüsse?
Sie beschreibt, wie Anschluss B gegenüber Anschluss A um die Leitung gedreht ist. 0° heißt: beide Ringaugen liegen in einer Ebene. Bei 90° steht Anschluss B quer – typisch, wenn Bremspumpe und Bremssattel unterschiedlich ausgerichtet sind.
Welcher Lochdurchmesser passt?
Der Lochdurchmesser des Ringauges entspricht dem Gewinde der Hohlschraube: 8 mm für M8, 10 mm für M10 (am häufigsten) und 12 mm für M12. Miss im Zweifel Deine alte Hohlschraube oder lade ein Foto hoch.
Brauche ich neue Kupferdichtringe?
Ja – Kupferdichtringe sollten bei jeder Montage erneuert werden. Pro Leitung benötigst Du 4 Stück; im Konfigurator sind sie bereits vorausgewählt.
Can I upload a photo?
Ja, JPG, PNG oder WebP bis 5 MB – direkt in Schritt 08.

Personal advice
Christian, Fabian & Patrick. For your setup.
Behind every line are real contact people. Christian, Fabian, and Patrick Diller will personally advise you on length, connections, and complete supermoto builds – so you get it right the first time.
5,0
★★★★★over 1,100 Google reviews
Motorcycle brake line configurator – Stainless steel for supermoto, streetbike, motocross, custom bikes & more
With the Diller Powerparts motorcycle brake line configurator, you can assemble your individual Stahlflex brake line in just a few steps – suitable for supermoto, streetbike, motocross, enduro, naked bike, or custom bike. Length in 10 mm increments, connection A and B from 0 degrees to 90 degrees, line and fitting color: you decide every detail, we manufacture your line ready to install and including TÜV certification.
Ready to install incl. technical report
Noticeably better brake feel & shorter braking distance
Individually configurable (length, angle, colors) – including TÜV certificate
Motorrad Bremsleitung nach deinen Maßen online konfigurieren
Passt die Serienleitung nach einem Umbau nicht mehr, stellst du bei Diller Powerparts deine Motorrad Bremsleitung online selbst zusammen. Abgefragt werden die Länge, beide Anschlüsse mit Winkel und Lochdurchmesser, die Verdrehung der Ringaugen zueinander sowie Ummantelung und Fittingfarbe. Die Länge reicht von 300 bis 2.500 mm und lässt sich auf 10 mm genau einstellen. Für die Winkel stehen 0, 20, 45, 70 und 90 Grad bereit, die Verdrehung stellst du in 5-Grad-Schritten ein. Jede Änderung siehst du sofort in der Vorschau, der Preis rechnet sich gleich mit.
Optisch bleibt kaum ein Wunsch offen. Zur Wahl stehen 17 Ummantelungen, darunter Kawa-Grün, Orange, Matt Schwarz und Carbon Look, dazu kommen acht Anschlussfarben von Titan bis Gold. So lässt sich eine Motorrad Bremsleitung nach Maß auf Rahmen, Felgen oder Dekor abstimmen. Hohlschrauben aus Edelstahl in M10 x 1, M10 x 1,25, M8 x 1 oder 3/8 Zoll, Kupferdichtringe und Halterungen legst du direkt dazu.
Vorder- und Hinterradleitung bestellst du nacheinander, denn der Warenkorb führt jede Konfiguration als eigenen Artikel. Wenn du ein ganzes Set brauchst, wiederholst du die Schritte einfach so oft, bis Vorderrad, Hinterrad und alle weiteren Leitungen beisammen sind. Damit ist auch eine zusätzliche Motorrad Bremsleitung für eine Lefthandbrake schnell ergänzt.
Supermoto Umbau mit größerer Scheibe und neuer Leitungsführung
Aus der Enduro wird eine Supermoto und am Vorderrad stimmt danach kaum noch ein Maß. Für die größere Scheibe rückt der Sattel per Adapter weiter nach außen. Damit wandert der Anschlusspunkt. Die originale Motorrad Bremsleitung steht dann unter Zug oder reibt am Kotflügel.
Scheibe und Sattelhalter bringt das Oversize Kit Supermoto als abgestimmtes Paket mit. Miss die neue Motorrad Bremsleitung erst, wenn dieses Kit montiert ist, denn vorher steht der Weg von der Pumpe zum Sattel nicht fest. Eine zu knappe Leitung spannt beim Einfedern, eine zu lange hängt durch und scheuert. Hier zählt tatsächlich jeder Zentimeter.
Auch am Cockpit verändert sich beim Umbau oft einiges. Ein höherer Lenker oder eine zweite Bremspumpe links für die Hinterradbremse ändert den Leitungsweg komplett. Weil Serienteile dann nicht mehr weiterhelfen, braucht es eine Motorrad Stahlflex Bremsleitung in passender Länge.
Den Radsatz dazu stellst du im Supermoto Felgen Konfigurator farblich zusammen. Nimmst du für Ummantelung und Naben denselben Ton, wirkt die Bremse später wie ein Teil des Radsatzes.
Motorrad Bremsschlauch aus Gummi oder Stahlflex im direkten Vergleich
Ab Werk verbauen viele Hersteller einen Motorrad Bremsschlauch aus Gummi mit Gewebeeinlage. Unter Druck weitet er sich ein wenig, mit dem Alter und bei Hitze deutlich mehr. Ein Teil deiner Handkraft verpufft so im Schlauch. Der Hebel wandert näher an den Griff und der Punkt, an dem die Beläge zupacken, verschwimmt.
Eine Stahlflex Bremsleitung umgibt den Innenschlauch mit einem Geflecht aus Edelstahl, das diese Dehnung fast vollständig verhindert. Was du am Hebel aufbaust, kommt nahezu ohne Verlust an den Belägen an. Am Motard, wo vor jeder Kehre spät und dosiert gebremst wird, spürst du den Unterschied besonders kurz vor dem Blockieren. Zusätzlich altert das Geflecht langsamer als Gummi, das mit den Jahren porös wird.
Für mehr Bremskraft sorgt die Leitung allein allerdings nicht. Abgenutzte Beläge oder eine verzogene Scheibe bleiben das schwächere Glied, passende Supermoto Brake Discs haben wir deshalb ebenfalls im Sortiment. Wo die Motorrad Bremsleitung am Rahmen anliegt, schützt sie ein schwarzer Scheuerschutz vor Abrieb.
Montagefertig verpresst und mit Gutachten vom TÜV geliefert
Weil die Leitung zu den sicherheitsrelevanten Bauteilen zählt, gehört zu jeder Bestellung ein technisches Gutachten vom TÜV. Die Leitung selbst kommt fertig verpresst bei dir an. Mit dem Gutachten belegst du bei einer Kontrolle, welche Motorrad Bremsleitung an deinem Bike verbaut ist. Bewahre es deshalb bei den Fahrzeugpapieren auf.
Worauf kommt es beim Einbau an? An jede Hohlschraube kommen neue Kupferdichtringe, angezogen wird nach der Vorgabe deines Fahrzeugherstellers. Danach muss die Anlage vollständig entlüftet werden, bis der Hebel hart steht. Erst wenn nirgends Flüssigkeit austritt und der Druckpunkt auch nach mehrmaligem Pumpen gleich bleibt, ist deine neue Motorrad Bremsleitung bereit für die erste Ausfahrt. Traust du dir das nicht zu, erledigt eine Fachwerkstatt den Tausch meist in kurzer Zeit.
Mit Prüfung vor der Fertigung die Bremsleitung anfertigen lassen
Du möchtest deine Bremsleitung anfertigen lassen, kennst aber den Winkel am Sattel nicht genau? Setz im letzten Schritt den Haken bei der Prüfung vor der Fertigung und lade ein Foto deiner alten Leitung hoch, als JPG, PNG oder WebP bis 5 MB. Wir gleichen deine Angaben mit dem Bild und deinem Motorrad ab, bevor die Leitung gefertigt wird.
Fällt uns dabei ein Widerspruch auf, melden wir uns, bevor eine unpassende Motorrad Bremsleitung entsteht. So vermeidest du eine zweite Bestellung samt Rücksendung. Bei komplett neuen Leitungswegen lohnt außerdem ein kurzer Anruf vor der Bestellung, damit Pumpe, Sattel und Leitung von Anfang an zusammenpassen.
Starte mit der Länge, denn ohne dieses Maß lässt sich keine Leitung planen. Alles Weitere fragt der Motorrad Bremsleitung Konfigurator anschließend Schritt für Schritt ab.
More configurators
Build it. Complete.
Brake line done? Then move on to wheels, seat, and decor – or go for the whole conversion right away.
Supermoto conversion
For supermoto conversion From enduro to supermoto. All from one source.
Wheels, brakes, suspension, lines – we completely rebuild your bike.